Dimmer switches are a great way to adjust the brightness of your lights and create the perfect ambiance in any room. Whether you’re looking to dim the lights for a romantic dinner or brighten up the room for a study session, a dimmer switch can help you achieve the desired lighting level with ease.
Before you begin the installation process, it’s important to have a clear understanding of how to wire a dimmer switch. In this article, we will provide you with a step-by-step guide on wiring a dimmer switch diagram.
 Double Dimmer Switch Wiring Diagram Database (www.got2bwireless.com)
Wiring A Dimmer Switch Diagram
1. Turn off the power: Before you start working on any electrical project, it’s crucial to turn off the power to the circuit you will be working on. Locate the circuit breaker that controls the lights you will be installing the dimmer switch on and switch it off.
2. Remove the existing switch: Once the power is off, remove the existing switch from the wall. You can do this by unscrewing the switch plate and pulling the switch out of the electrical box. Make sure to take note of how the wires are connected to the switch before disconnecting them.
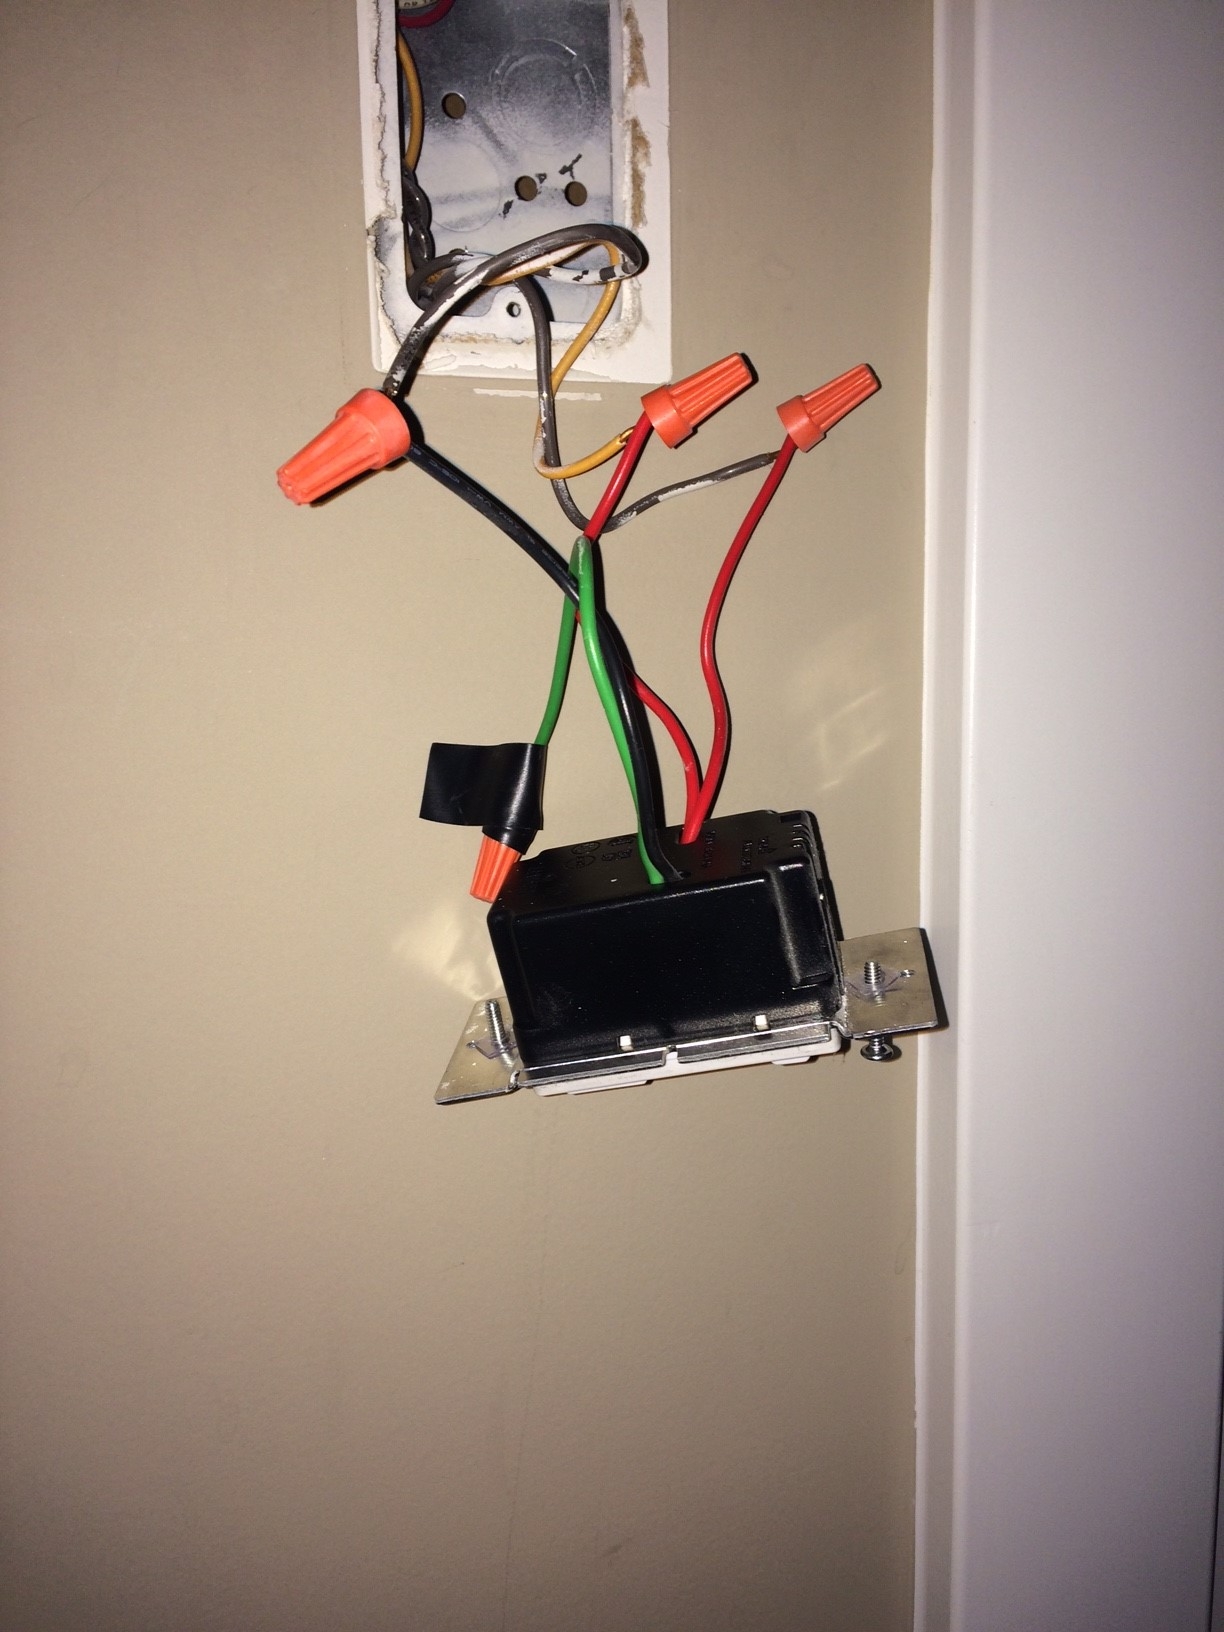
3. Connect the dimmer switch: Take your dimmer switch and connect the wires according to the wiring diagram provided with the switch. Typically, dimmer switches have two black wires that need to be connected to the hot wire (usually black) and one green wire that needs to be connected to the ground wire (usually green or bare). Follow the manufacturer’s instructions carefully to ensure proper installation.
4. Secure the dimmer switch: Once the wires are connected, carefully tuck them back into the electrical box and secure the dimmer switch in place with the screws provided. Make sure the switch is level and flush with the wall before replacing the switch plate.
5. Test the dimmer switch: After the dimmer switch is securely installed, turn the power back on and test the switch to ensure it is working properly. Adjust the dimmer to different levels and make sure the lights respond accordingly. If everything is working as it should, you have successfully wired a dimmer switch!
With this step-by-step guide and wiring diagram, you can easily install a dimmer switch in your home and enjoy customized lighting in any room. Remember to always prioritize safety when working with electricity and consult a professional if you are unsure about any part of the installation process.