Excel is a powerful tool for organizing and analyzing data, but it’s important to protect your work from unwanted changes or deletions. By protecting a worksheet in Excel, you can prevent others from making edits to the data or formulas you’ve inputted. This can be especially useful when sharing sensitive information or collaborating on a project with multiple people.
There are several ways to protect a worksheet in Excel, including password protection, locking cells, and hiding formulas. These features can help ensure the integrity of your data and prevent accidental changes that could impact your analysis or calculations.
 Protect Sheet In Excel How To Do Examples Ways Templates (worksheets.clipart-library.com)
Steps to Protect a Worksheet in Excel:
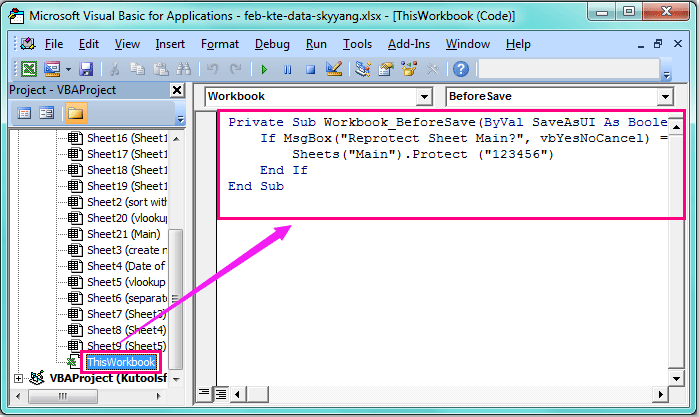
1. Password Protection: One of the most common ways to protect a worksheet in Excel is by setting a password. To do this, go to the “Review” tab in the Excel ribbon, click on “Protect Sheet,” and enter a password of your choice. This will prevent anyone without the password from making changes to the worksheet.
2. Locking Cells: You can also protect specific cells in a worksheet by locking them. To lock cells, select the cells you want to protect, right-click, and choose “Format Cells.” In the Format Cells dialog box, go to the “Protection” tab and check the box that says “Locked.” Then, go back to the “Review” tab and click on “Protect Sheet” to lock the selected cells.
3. Hiding Formulas: If you have complex formulas in your worksheet that you don’t want others to see or edit, you can hide them. To do this, select the cells containing the formulas, right-click, and choose “Format Cells.” In the Format Cells dialog box, go to the “Protection” tab and check the box that says “Hidden.” This will prevent the formulas from being visible or editable by others.
4. Protecting Objects: In Excel, objects like charts, images, and shapes can also be protected. To protect objects, right-click on the object you want to protect, select “Format Object,” and go to the “Properties” tab. Check the box that says “Locked” to prevent changes to the object.
By following these steps, you can protect your worksheet in Excel and ensure that your data remains secure and accurate. Whether you’re working on a personal budget or a business report, protecting your worksheet can help you maintain control over your data and prevent unauthorized changes.