When it comes to wiring a LM7 4 pin to 1 cable alternator, it is important to follow a specific diagram to ensure the correct connection of wires. This type of alternator setup is commonly found in older vehicles and can be tricky to wire properly if you are not familiar with the process.
Understanding the wiring diagram for a LM7 4 pin to 1 cable alternator is essential in order to avoid any potential electrical issues or malfunctions. By following the correct diagram, you can ensure that the alternator is properly connected and functioning as it should.
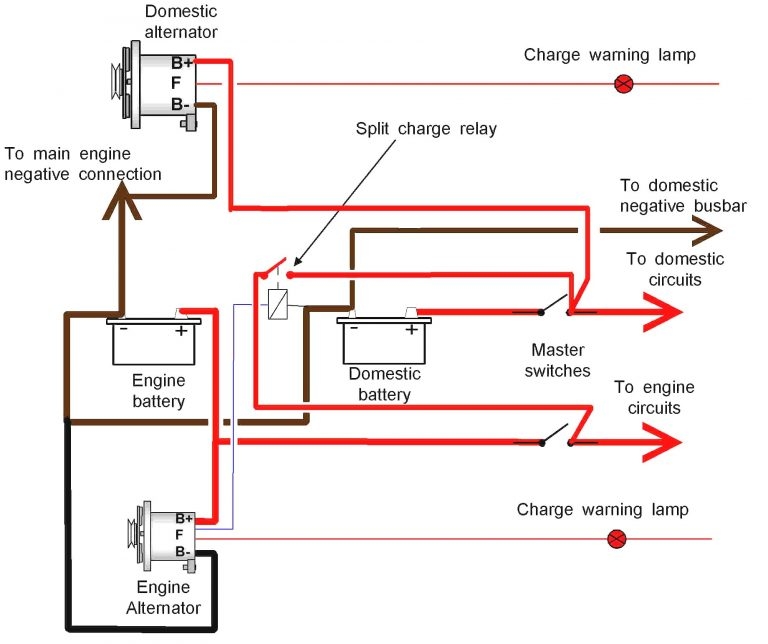
 The Ultimate Guide To Understanding 4 Pin Alternator Wiring Diagrams (kdi-ppi.com)
Wiring Instructions
First, you will need to identify the four pins on the alternator and the single cable that will be used for connection. The pins are typically labeled as S, L, B, and P. The single cable will be used to connect to the battery.
Next, refer to the wiring diagram for the specific configuration of the pins on the alternator. The S pin is usually the sense wire, the L pin is for the warning light, the B pin is the main battery connection, and the P pin is for the stator connection.
Connect the sense wire to the S pin, the warning light wire to the L pin, the main battery connection to the B pin, and the stator connection to the P pin. Make sure to secure each connection properly to ensure a solid electrical connection.
Once all the connections are made, double-check the wiring to ensure everything is connected correctly. It is also a good idea to test the alternator to make sure it is charging the battery properly before putting everything back together in the vehicle.
Following the correct wiring diagram for a LM7 4 pin to 1 cable alternator is crucial for proper functionality and safety. By taking the time to understand the diagram and make the connections correctly, you can ensure that your alternator is working as it should and avoid any potential issues down the road.
In conclusion, wiring a LM7 4 pin to 1 cable alternator requires careful attention to detail and following the correct diagram. By following the instructions provided and double-checking your connections, you can ensure that your alternator is properly wired and functioning as it should.