When it comes to wiring a 4-way electrical switch, it may seem a bit complicated at first. However, with the right instructions and a clear diagram, you can easily understand how to wire it properly. A 4-way switch is used when you need to control a light fixture from three or more locations.
Before starting the wiring process, make sure to turn off the power at the circuit breaker to avoid any accidents. It’s always a good idea to use a voltage tester to double-check that the power is off before working on any electrical project.
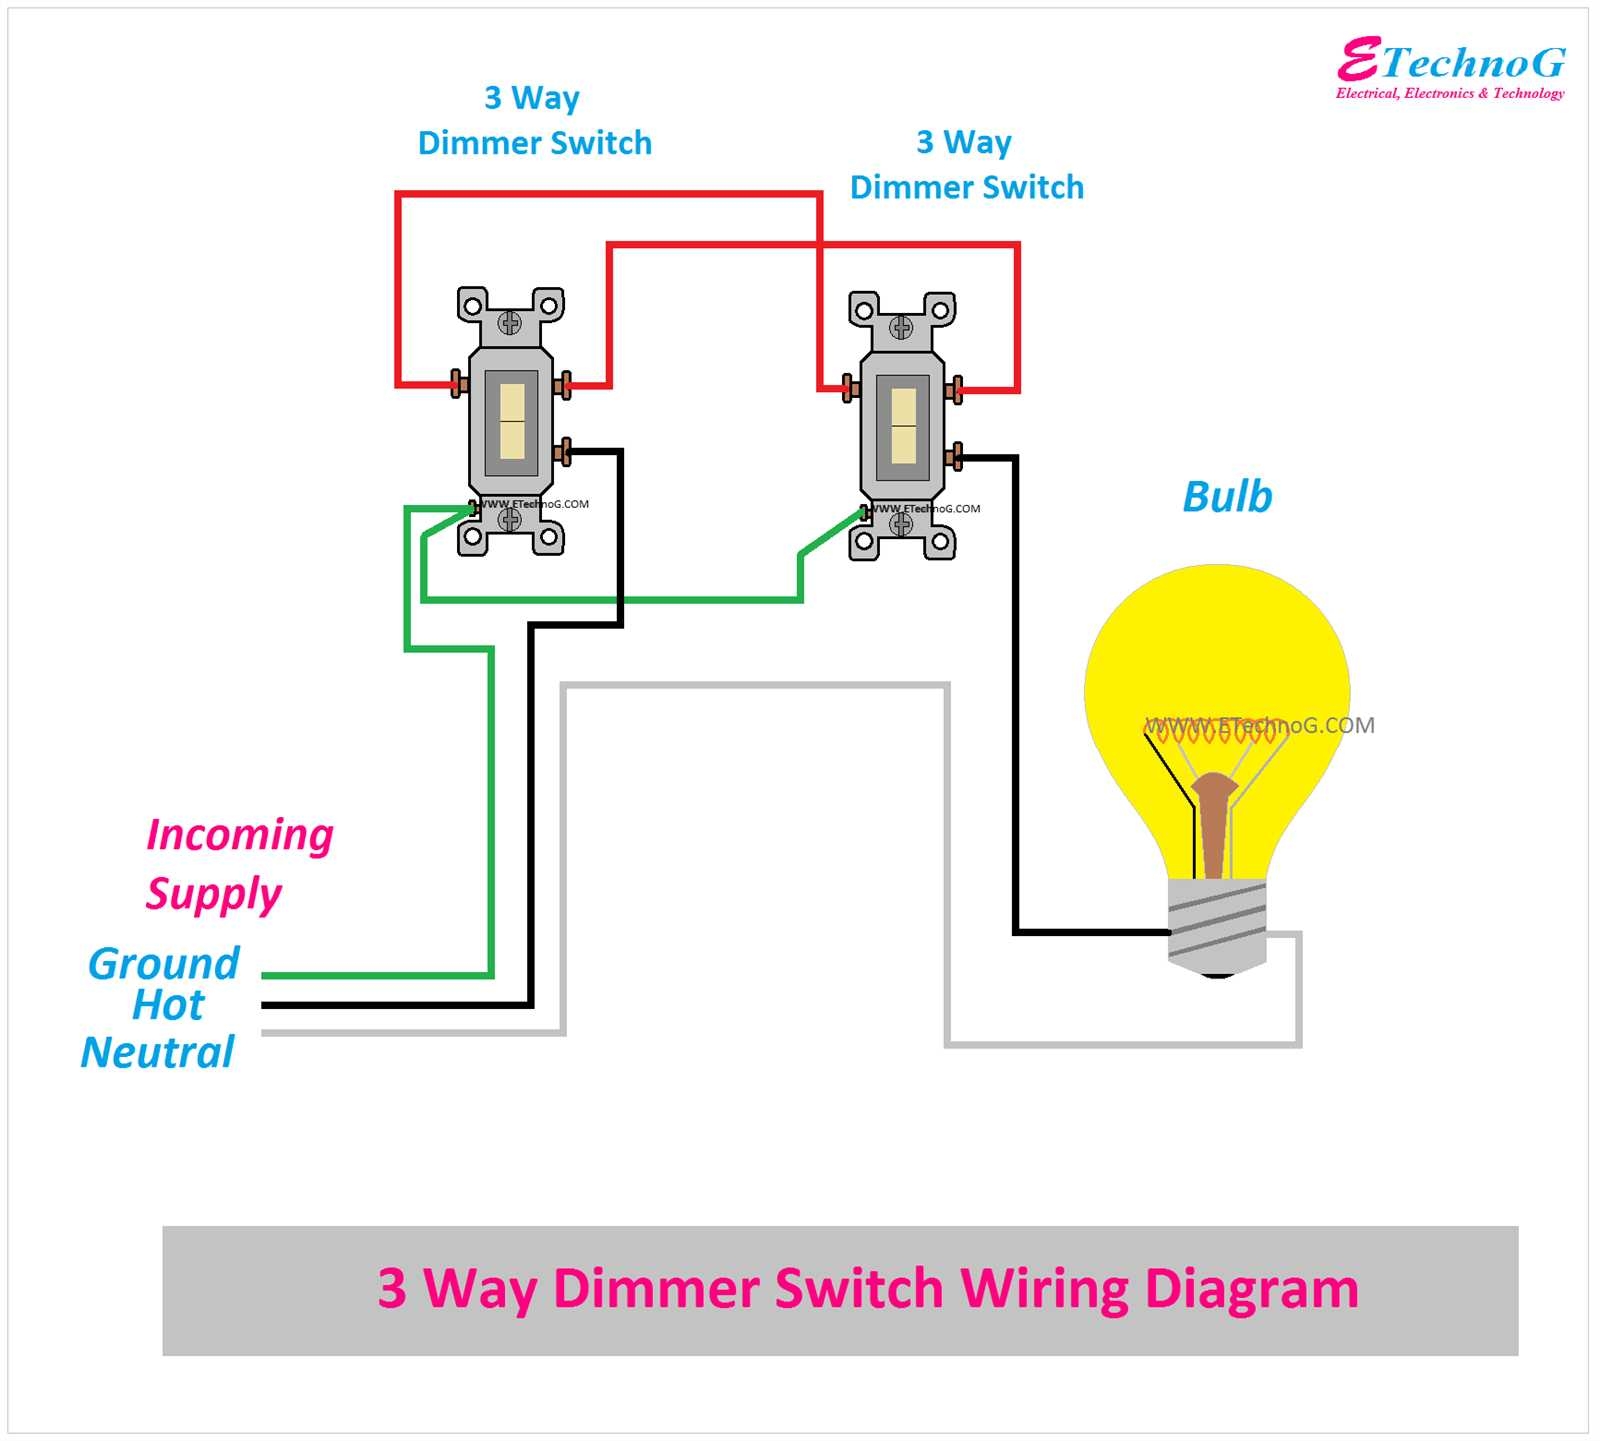
 DIAGRAM Multiswitch Wiring Diagram 4 Way MYDIAGRAM ONLINE (mydiagram.online)
Start by connecting the wires to the 4-way switch. The 4-way switch has four terminals, two on each side. Connect the two travelers from one 3-way switch to the two terminals on one side of the 4-way switch. Then, connect the two travelers from the other 3-way switch to the two terminals on the other side of the 4-way switch.
Next, connect the two remaining terminals on the 3-way switches to the hot wire and the load wire. The hot wire is usually black and the load wire is typically red. Make sure to secure all connections with wire nuts and wrap them with electrical tape for safety.
After all the wires are connected properly, you can turn the power back on and test the switch. If everything is wired correctly, the light fixture should turn on and off from all the locations where the switches are installed.
Remember to always follow the manufacturer’s instructions and local electrical codes when working on any wiring project. If you’re unsure about anything, it’s best to consult a professional electrician to ensure the job is done safely and correctly.
With the right diagram and a clear understanding of how the 4-way electrical switch works, you can easily wire it yourself and have full control over your lighting system from multiple locations.