When it comes to electrical wiring in your home, understanding how to wire a 3-way switch is essential. A 3-way switch allows you to control a light fixture from two different locations, making it a convenient option for larger rooms or staircases. With the right wiring diagram, you can easily install a 3-way switch in your home.
Before beginning any electrical work, it is important to turn off the power to the circuit you will be working on. Always use caution when dealing with electricity to avoid any accidents or injuries. Once you have ensured the power is off, you can start following the wiring diagram for the 3-way switch.
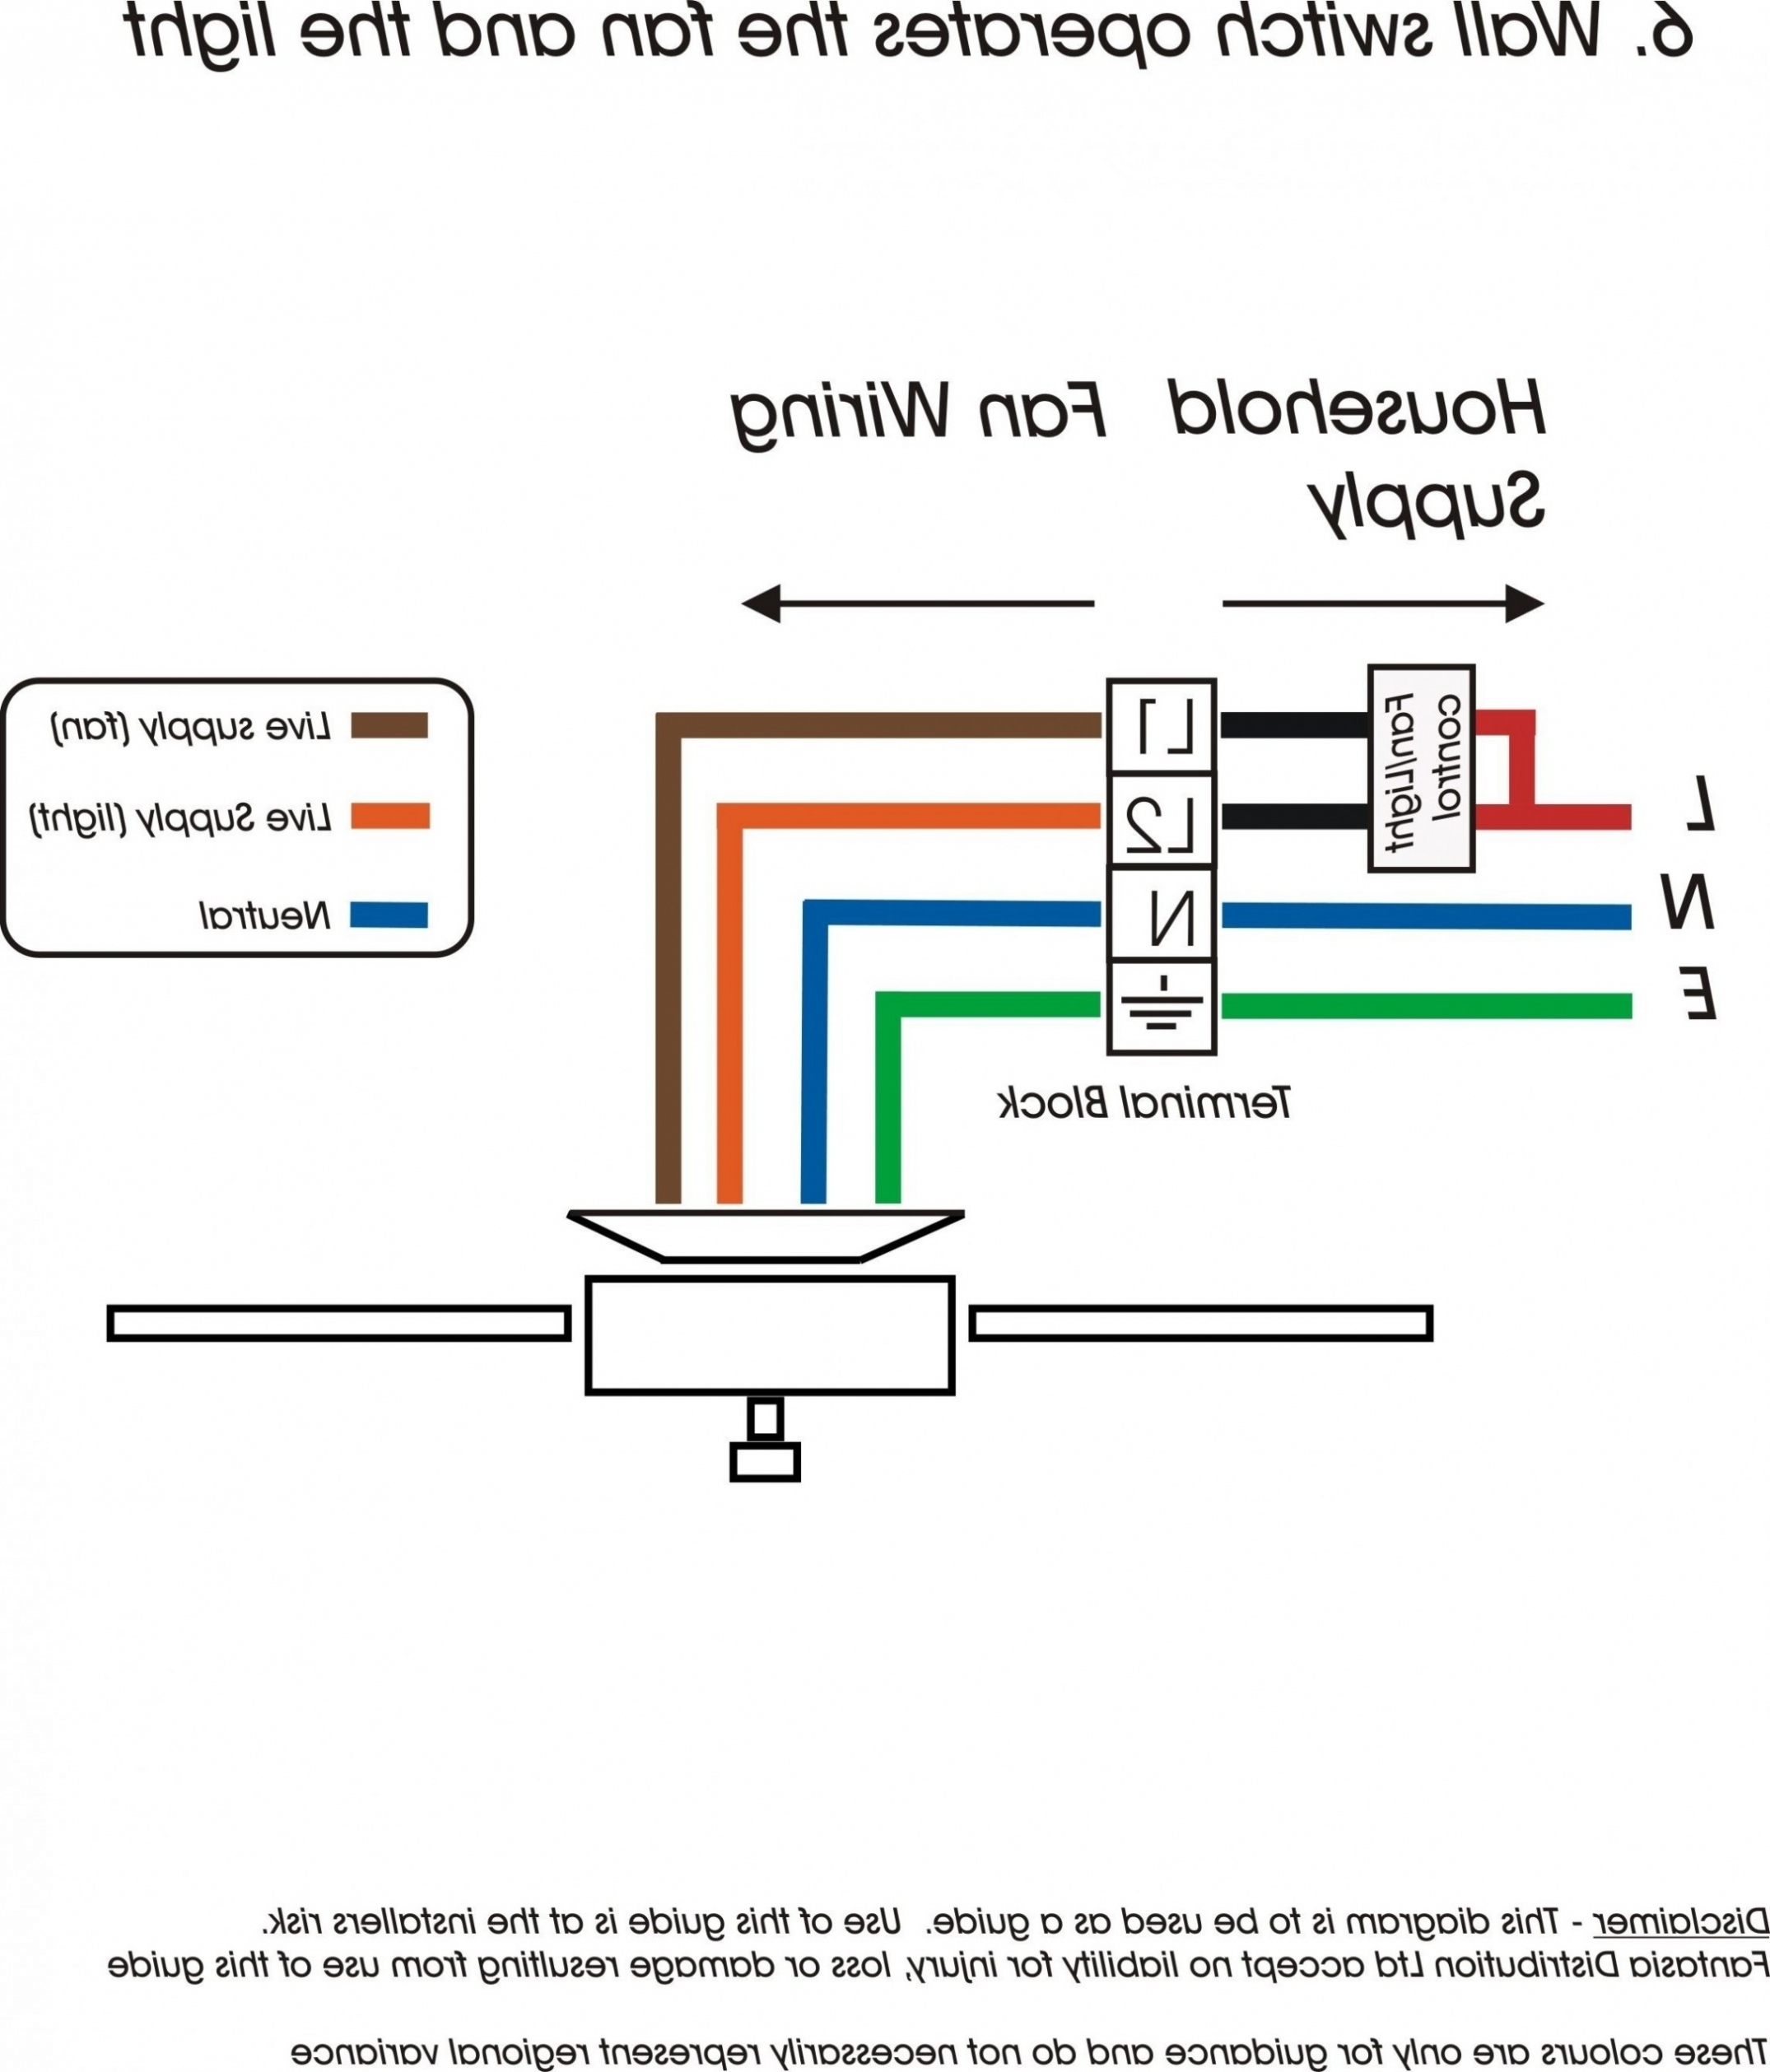
 Wiring A 3 Way Switch Diagram For Dummies (partdiagramcocudaid.z13.web.core.windows…)
One common 3-way switch wiring diagram involves a power source at one switch location, and the light fixture at the other switch location. The two switches are connected with a 3-wire cable, allowing for communication between the switches. This setup allows you to control the light fixture from either switch location.
To wire a 3-way switch, you will need to identify the common terminal on each switch, as well as the traveler terminals. The common terminal is typically a darker screw, while the traveler terminals are usually brass or silver. By connecting the wires according to the wiring diagram, you can ensure that the switches function properly.
It is important to double-check your wiring before turning the power back on to avoid any issues. Once everything is properly connected, you can test the switches to make sure they are working correctly. With the right wiring diagram and a little patience, you can successfully install a 3-way switch in your home.
Overall, understanding how to wire a 3-way switch is a valuable skill for any homeowner. With the help of a clear wiring diagram, you can confidently tackle this electrical project and improve the functionality of your lighting system. Remember to always prioritize safety and follow the proper procedures when working with electricity.