When it comes to wiring a 3-way switch, it can be a bit confusing for those who are not familiar with electrical work. However, with the right guidance and understanding of the process, you can easily wire a 3-way switch in your home to control a light fixture from two different locations.
A 3-way switch allows you to turn a light on or off from two different locations, such as at the top and bottom of a staircase or at both ends of a long hallway. This type of switch is commonly used in homes to provide convenience and flexibility in lighting control.
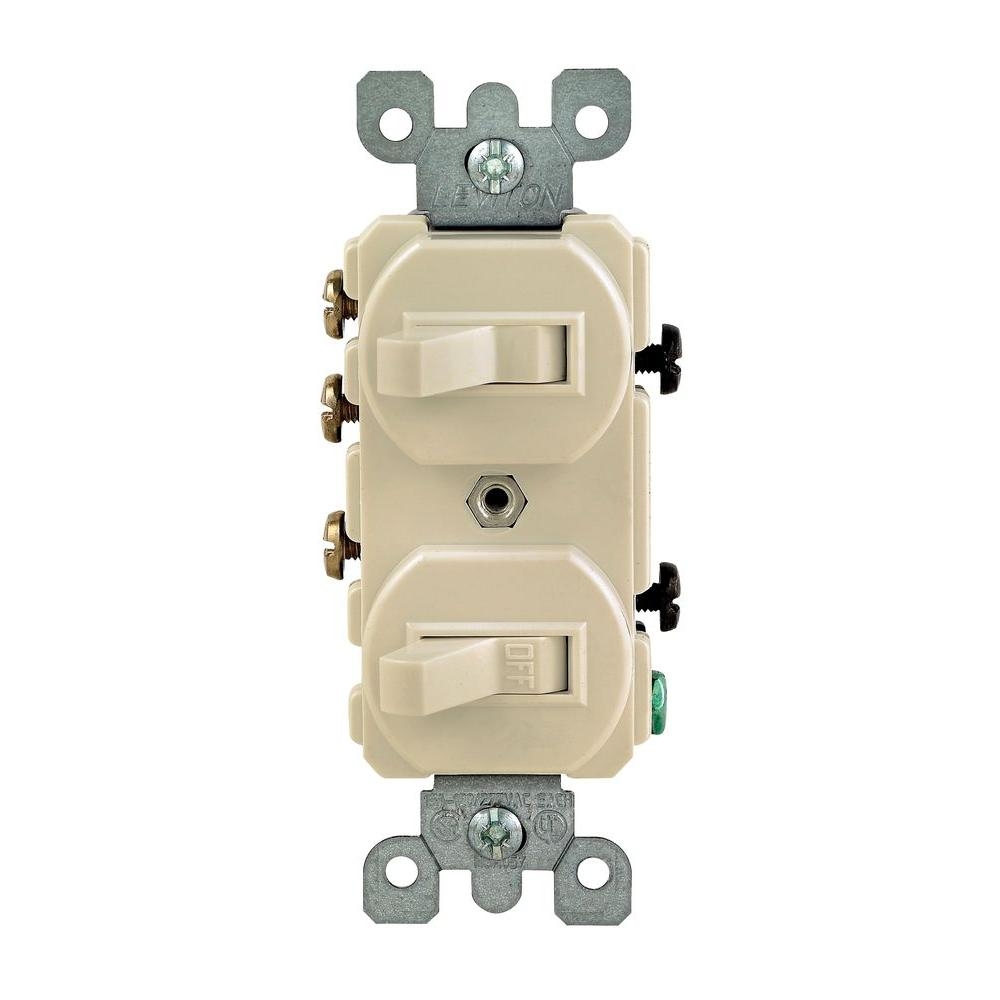
 3 Way Switch Wiring Diagram Liviton Wiring Idas Never Stop (digiwiring.blogspot.com)
Here is a basic 3-way switch wiring diagram to help you understand how to wire a 3-way switch properly:
1. Start by turning off the power to the circuit at the main electrical panel.
2. Locate the two 3-way switches that will control the light fixture. These switches will have three terminals – one common terminal and two traveler terminals.
3. Connect the common terminal of one switch to the hot wire (black) coming from the power source. This wire is typically connected to the brass-colored screw on the switch.
4. Connect the common terminal of the other switch to the hot wire (black) going to the light fixture. This wire is also typically connected to the brass-colored screw on the switch.
5. Connect the two traveler terminals of each switch together with a black wire. This wire will carry the electrical current between the switches.
6. Connect the white neutral wires together and the ground wires together in the switch boxes.
7. Turn the power back on and test the switches to ensure they are working properly.
By following this 3-way switch wiring diagram and the steps outlined above, you can successfully wire a 3-way switch in your home. Remember to always turn off the power before working on any electrical wiring to ensure your safety.